Detangling Do's and Don'ts: The Right Way to Prevent Snapping and Shedding
The detangling process can make or break your hair health—literally. If you dread wash day because it seems to result in a handful of broken strands, you’re likely using the wrong tools or techniques.
Learning how to detangle properly is the secret to retaining length and preventing unnecessary shedding.
The Golden Rule: Never Detangle Dry Hair
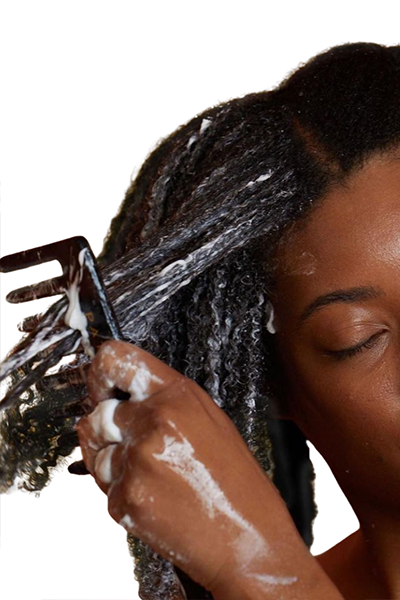
This is the single most important rule. Dry hair has no elasticity, meaning when you tug on a knot, it snaps instantly. Always introduce slip before you begin.
Detangling Tools: Choose Wisely
The right tool minimizes friction and strain on your hair. Throw out the brushes that rip through your knots!
The Best Tools
-
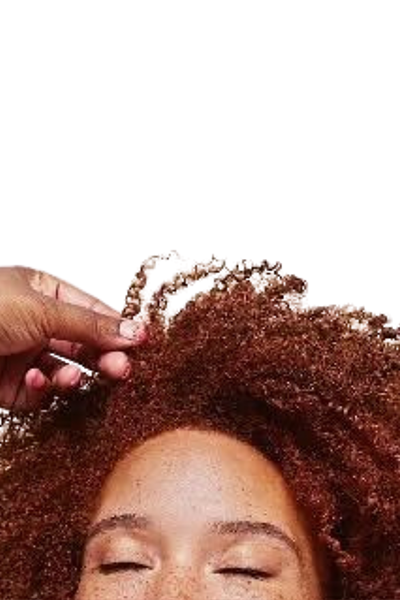
Your Fingers: Always start here. Fingers are the most gentle "tool" and can feel where the knots are tightest, allowing you to separate them manually before a comb goes in.
-
Wide-Tooth Comb: This is your primary detangling tool after your fingers. The widely-spaced teeth are designed to gently separate strands without yanking.
-
Detangling Brush: Look for brushes with flexible bristles and a vented design (like a Denman brush or similar). These bend and move with your hair instead of resisting the knot.
Where to Start
Think of detangling like climbing a ladder—you start at the bottom.
-
Step 1: The Ends. Start with the bottom 1-2 inches of your hair.
-
Step 2: Work Your Way Up. Once the ends are smooth, move a few inches up and detangle that section.
-
Step 3: Finish at the Root. Continue this method until you can smoothly comb from your root all the way to your end with zero resistance.
Quick Fix for Tough Knots
Sometimes you encounter a stubborn knot that just won't budge.
-
Isolate the knot completely.
-
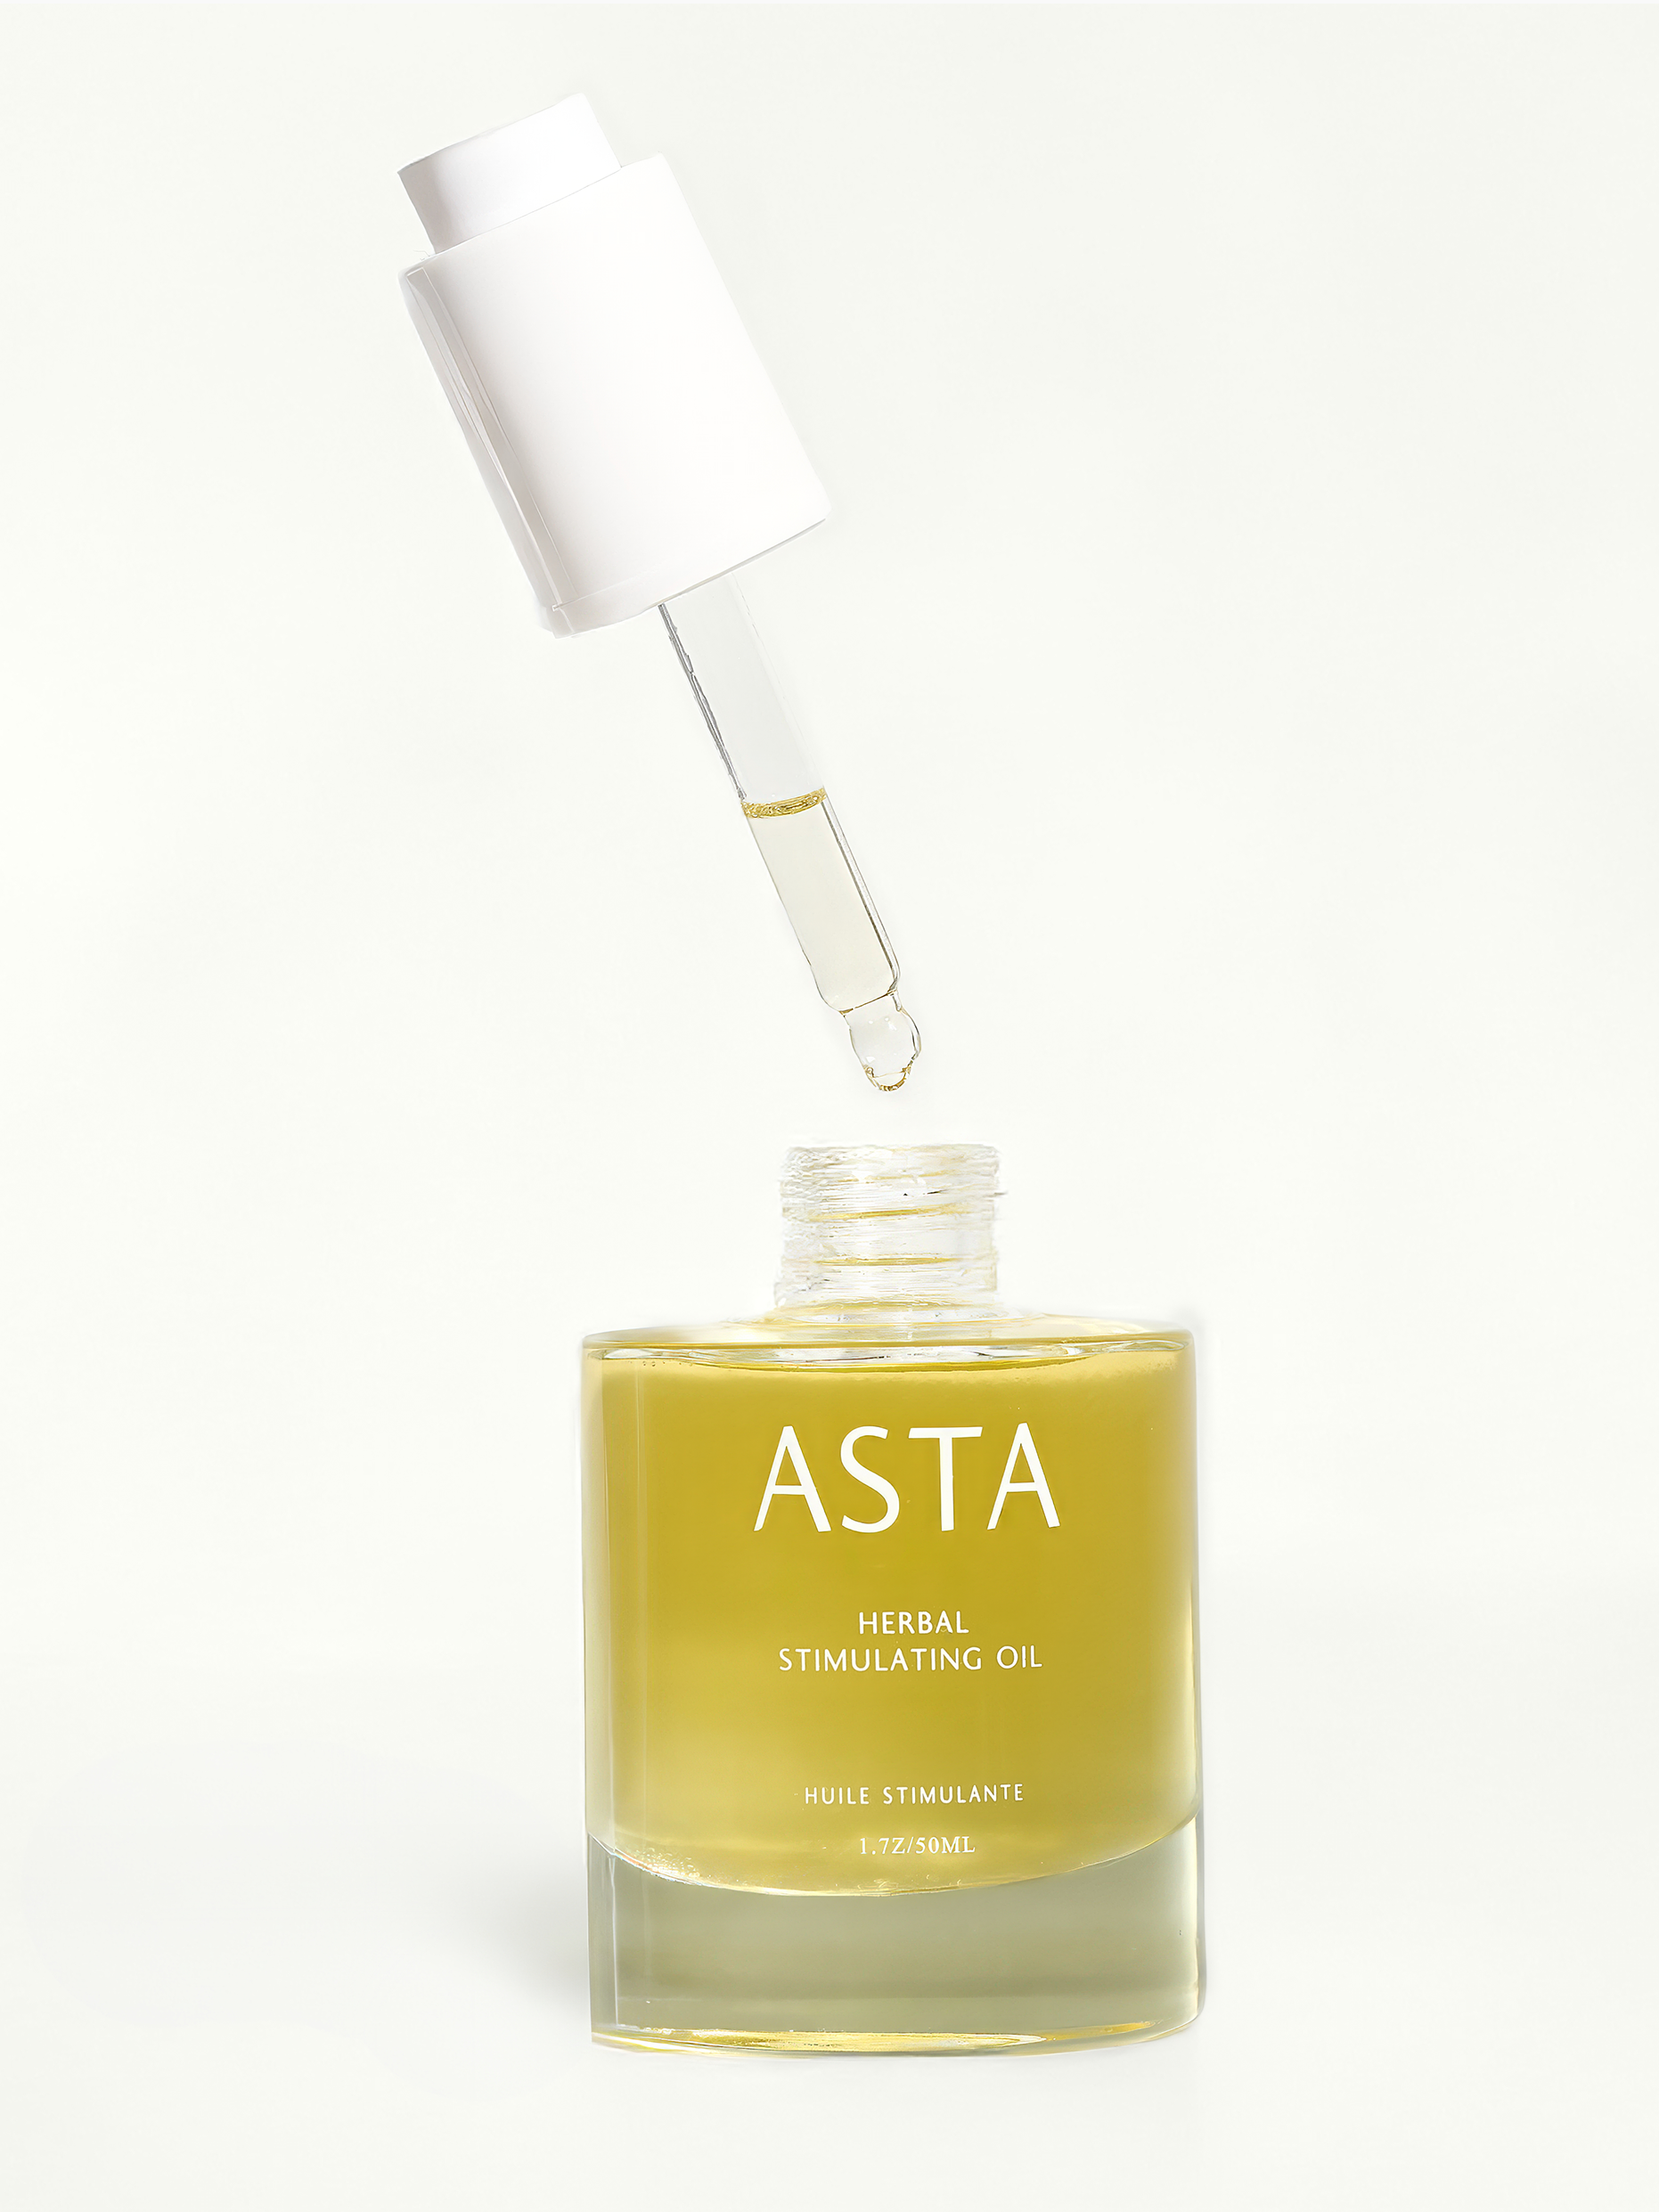
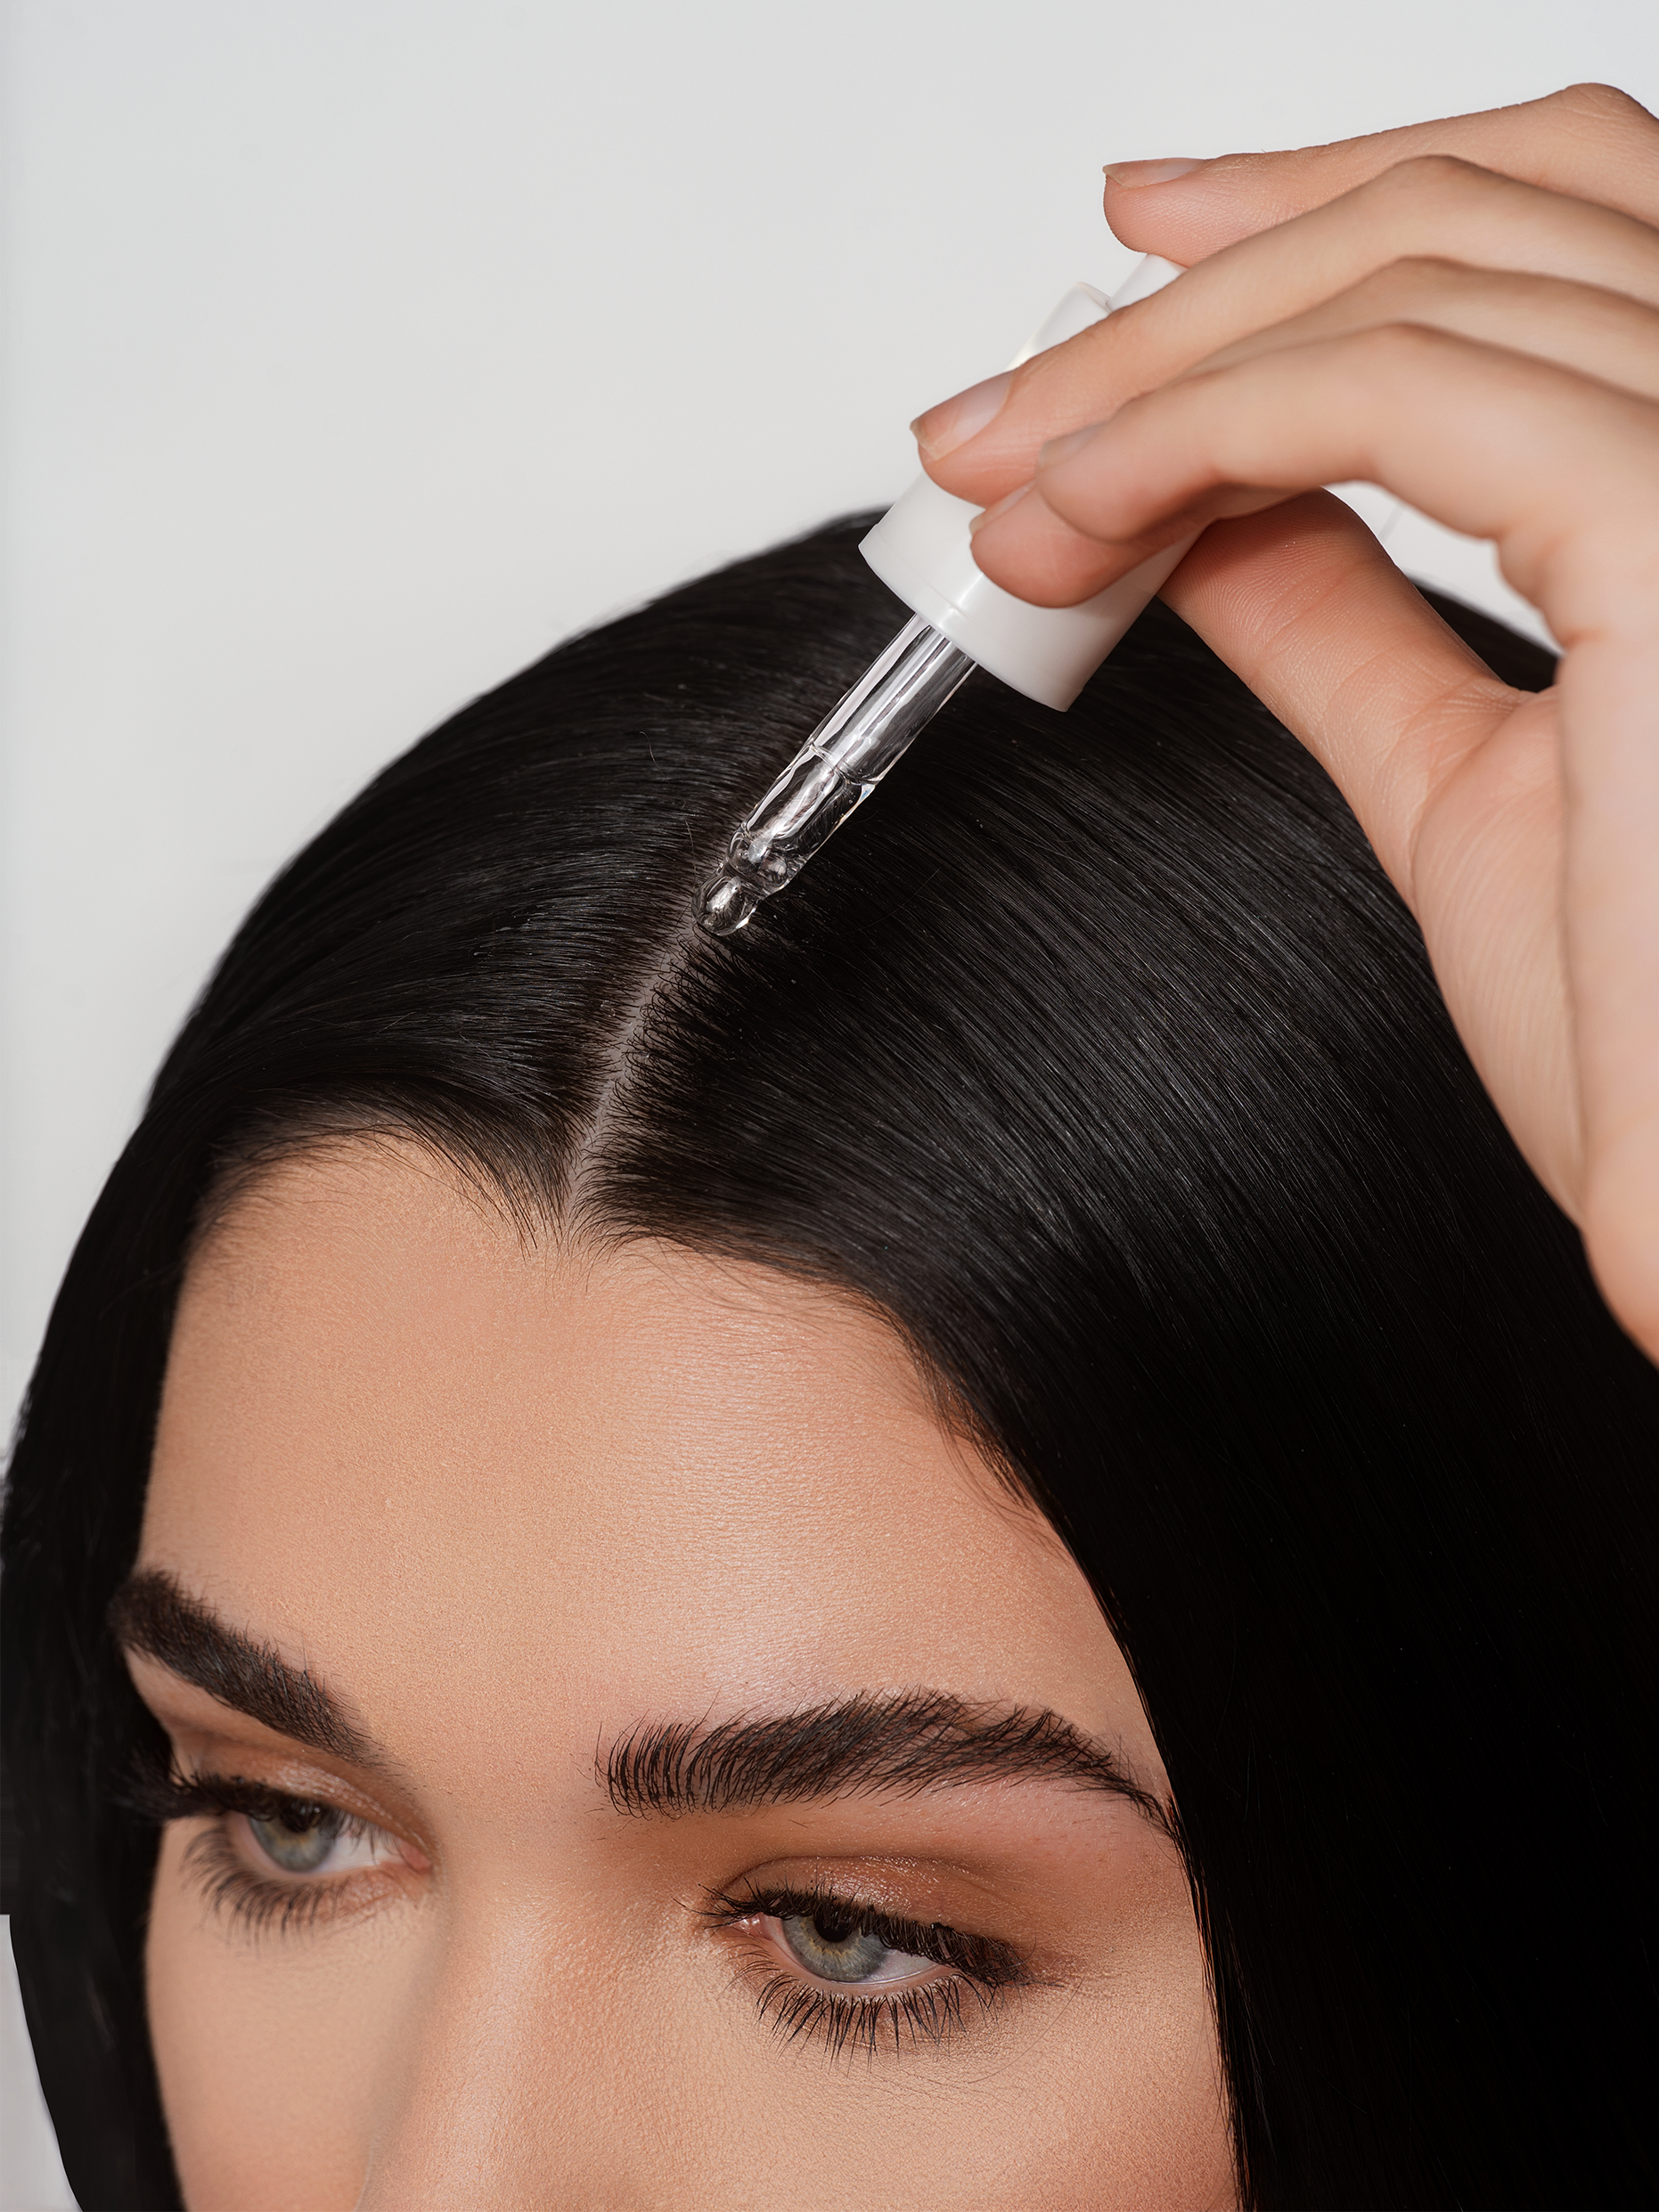
Add an extra pump of hair oil or serum directly onto the knot.
-
Use your fingers to gently separate the knot into smaller strands.
-
Work only on the knot with a wide-tooth comb, using tiny, delicate strokes.
Complete Your Detangling Routine
Once your hair is completely detangled, don't let all that hard work go to waste! A proper finishing product will keep your hair smooth and protected until the next wash.
Start practicing these gentle techniques today, and watch your breakage drastically decrease!
Ready to make your detangling process smoother and stress-free?
Our Revive Repair Oil is formulated to provide incredible slip and nourishment, making detangling easier while protecting your hair from root to tip. Visit LOVEASTA Shop and try it for your next wash day!
